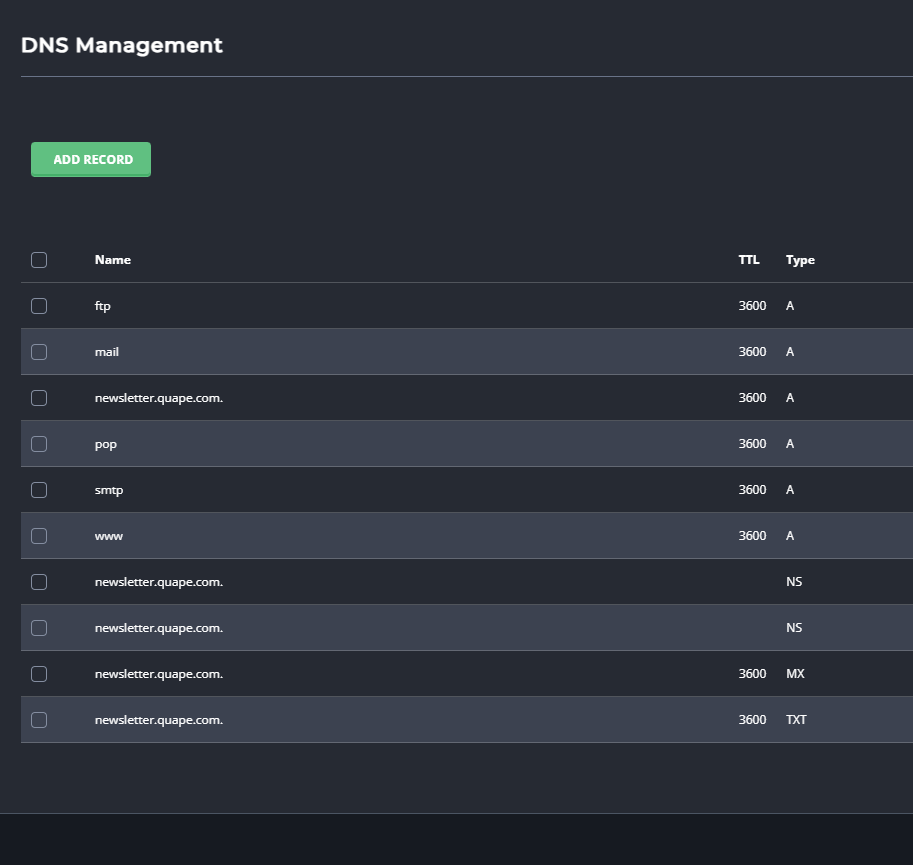
How to Add a New DNS Record in DirectAdmin
DirectAdmin makes it simple to manage DNS settings for your domain. Follow this guide to add a new DNS record to your domain.
1. Log in to DirectAdmin
- Use your DirectAdmin credentials to log in to the control panel.
- Click on DNS Management in the dashboard under Account Manager.

2. Select the Domain
- If you manage multiple domains, choose the domain for which you want to add DNS records.
4. Add a New DNS Record
- Scroll down to the Add Record section.
- Select the type of record you want to add (e.g., A, AAAA, CNAME, MX, TXT, etc.).
- Enter the required details:
- Name: The subdomain or domain (e.g.,
www,@, or a specific subdomain likemail). - Type: Select the type of DNS record.
- Value: The value associated with the record (e.g., IP address, target domain, or other data).
- TTL: Optional; use default if unsure.
- Name: The subdomain or domain (e.g.,
5. Save the Record
- Click Add or Save to insert the new DNS record.
6. Verify Changes
- Check the updated DNS records list to ensure your new entry has been added.
- It may take time for DNS changes to propagate, depending on the TTL and DNS caching.

7. Test the Changes
- Use tools like nslookup, dig, or online DNS checkers to verify the new DNS records are resolving correctly.
If you face issues or have limited access, ensure you have the necessary permissions or consult your hosting provider.


