MX Records: Setting Up and Managing Mail Exchange Records in DirectAdmin
MX (Mail Exchange) records are essential for managing where emails for your domain are delivered. If you're using external email services like everyone.net or other third-party email providers, you’ll need to update your MX records to point to their servers. Here’s how to properly set up and manage MX records in DirectAdmin.
Understanding the Impact of MX Record Changes
- Changing MX records directs your email traffic to an external email service provider.
- Warning: Modifying MX records will disable your current:
- POP3 email accounts
- Email forwarders
- Autoresponders
- Mailing lists
- Ensure that your new email provider is fully set up before making these changes to avoid service interruptions.
Step-by-Step Guide to Changing MX Records
Step 1: Access the MX Records Menu
- Log in to your DirectAdmin control panel.
- Navigate to the E-Mail Menu.
- Click on the MX Records icon.

Step 2: Delete Existing MX Records
-
Locate the existing MX record(s).
-
Check the box next to the MX record(s) you want to remove.
-
Click the Delete Selected button.
Tip: Ensure that no MX records remain before proceeding.

Step 3: Add New MX Records
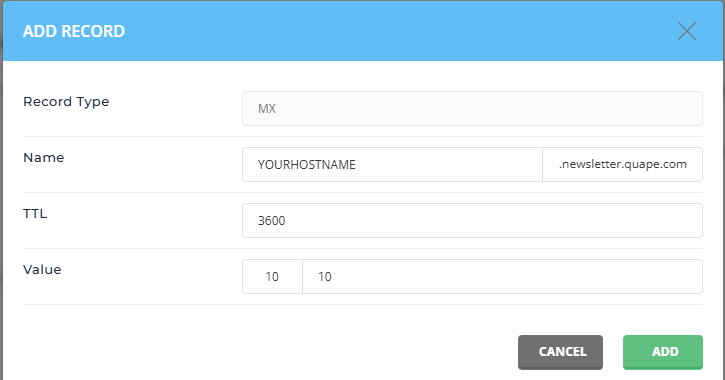
- In the Add Record section, enter the hostname provided by your email provider.
- Example:
mail.external-provider.com. - Important: Always add a period (.) at the end of the hostname.
- Example:
- Select the Priority level (usually provided by your email provider, e.g., 10).
- Click Add to save the new MX record.

Restoring Default MX Settings
If you wish to revert to your original email configuration:
- Delete the external MX record(s) as described above.
- Add a new MX record with the following details:
- Hostname:
yourdomain.com. - Priority:
0
- Hostname:
Need More Help?
If you are unsure about any of the steps above or require additional guidance, refer to our detailed article:
How to Add a New DNS Record in DirectAdmin.
Testing MX Record Changes
After updating your MX records:
- Use email diagnostic tools like MXToolbox or NSLookup to verify the changes.
- Send a test email to confirm that messages are being routed correctly.


