Plugin Manager
The Enhance WordPress toolkit includes a Plugin Manager, allowing users to manage WordPress plugins. From the control panel, you can install, activate, deactivate, update, and delete plugins. This tool can be enabled or disabled at the hosting package level.
Steps to Install a WordPress Plugin
- Open Websites in the left sidebar.
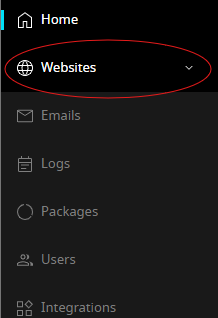
- Find the website where you want to install the plugin and click Manage in the kebab menu.
- In the website dashboard, select Apps.

- Click Manage on the WordPress application.

- Scroll to the Plugins section.
- Click Install.
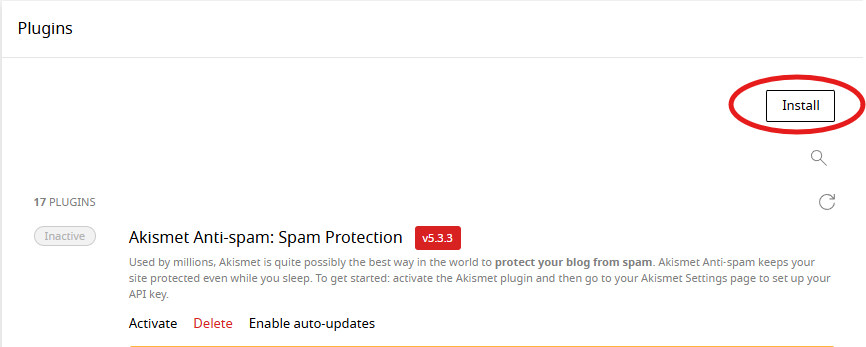
Tip: If the Install button is not visible, ensure that Allow WordPress Plugin Manager is enabled in the hosting package.
- Select the plugin(s) you want to install.
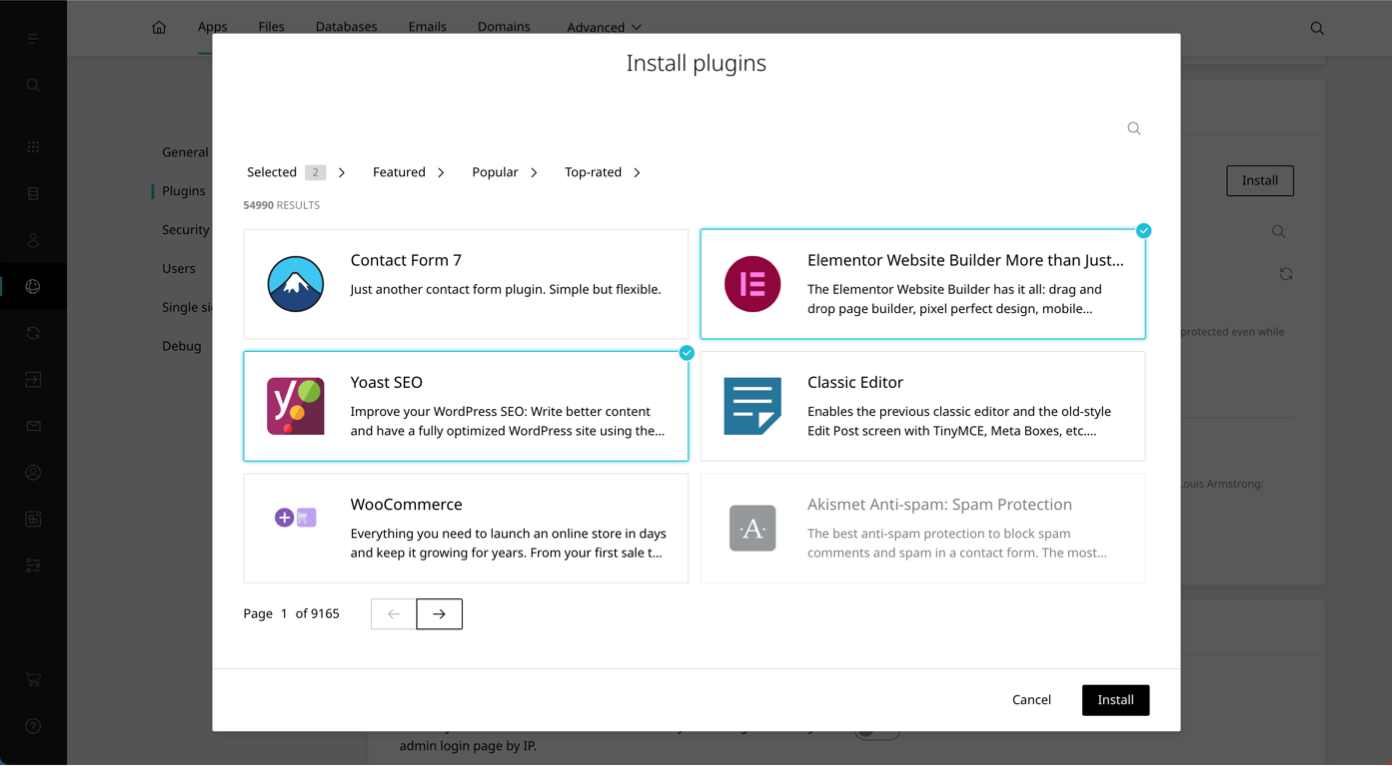
- Click Install to complete the process.
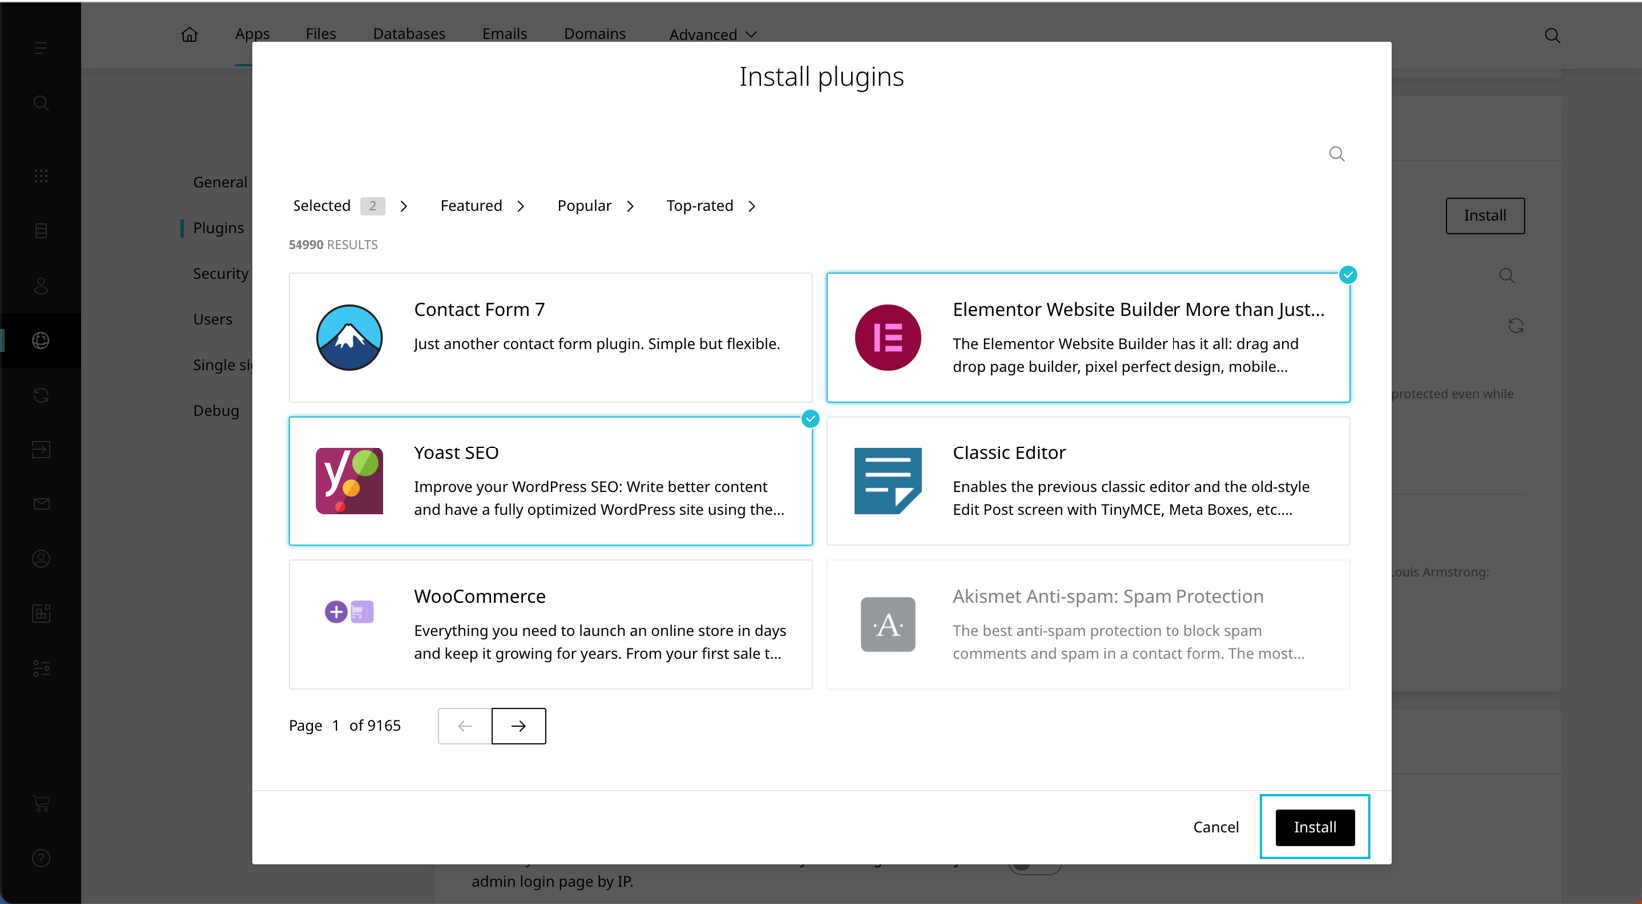
- Click Activate to enable installed plugins

This will add the chosen plugins to your WordPress site.
Steps to Install from WordPress Dashboard
- Open Plugins in the left sidebar.
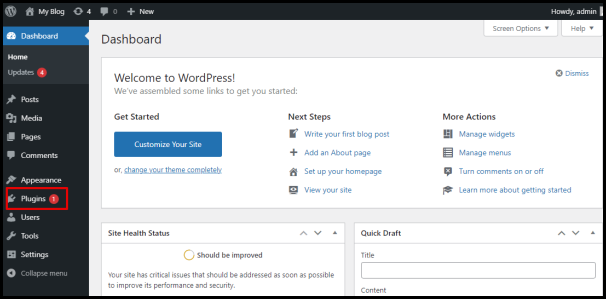
- Click Add New Plugin.
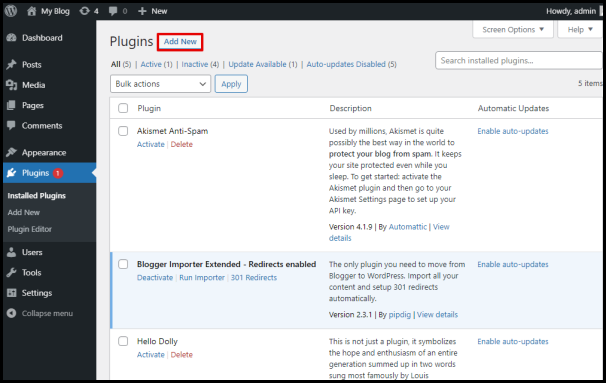
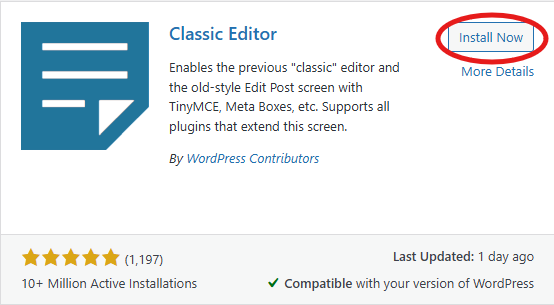
- Click Install Now on any plugins you wish to install
- Click Activate to enable the plugin
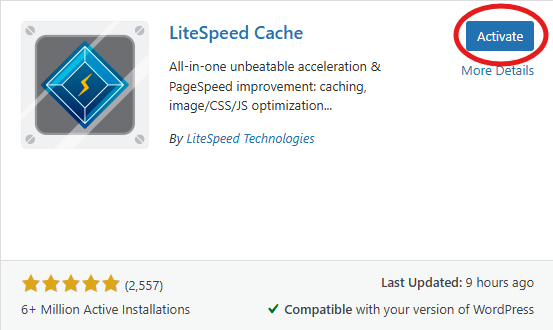
Alternatively, you may also activate it from the plugins menu
Steps to Remove a WordPress Plugin
- Open Websites in the left sidebar.

- Find the website where you want to install the plugin and click Manage in the kebab menu.
- In the website dashboard, select Apps.

- Click Manage on the WordPress application.

- Scroll to the Plugins section.
- Click Delete on the plugins you wish to remove

Steps to Remove from WordPress Dashboard
- Open Plugins in the left sidebar.

- Scroll down to plugins and click on Deactivate then Delete on the plugin you wish to remove


- Open Websites in the left sidebar.


