How to Change MX Records in DirectAdmin
MX (Mail Exchange) records are used to direct email to the correct mail servers. If you're using a third-party email service like everyone.net, you may need to update your MX records. Keep in mind that changing MX records will disable any existing POP3 accounts, forwarders, autoresponders, and mailing lists associated with your domain.
Step 1: Access the MX Records Menu
- Log in to your DirectAdmin control panel.
- Navigate to the E-Mail Menu.
- Click on the MX Records icon.

Step 2: Delete the Old MX Record
- In the MX Records section, check the box next to the old MX record.
- Click Delete Selected to remove the old record.
- There should now be no MX records listed.

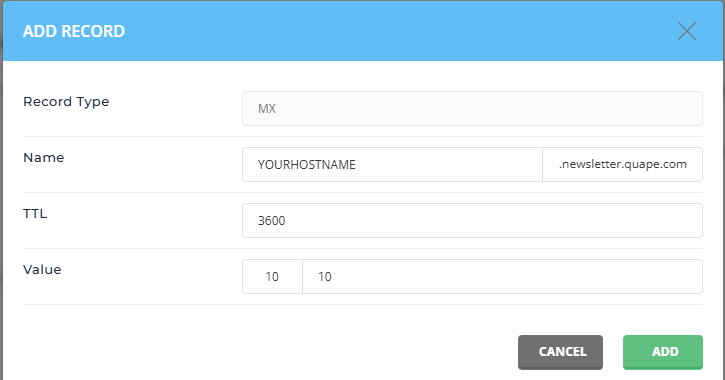
Step 3: Add the New MX Record
- Enter the hostname provided by your email provider (make sure to include a period at the end of the hostname).
- Select the priority level (typically 10) from the dropdown box. This value will also be provided by your email provider.
- Click Add to save the new MX record.

Step 4: Restoring the Original MX Settings
To revert to your original MX settings:
- Delete the current MX record.
- Enter
yourdomain.com.(with a period at the end) in the hostname field and set the priority to 0. - Click Add to restore the original settings.


