Product categories will allow visitors to easily filter and find a specific product as all your products will be sort and organized in categories. As a result, categorizing your products will not only help your visitors and also the admin and shop managers when searching for a particular item under a whole list of products. Therefore, this article will guide you to add categories in your Woocommerce. Kindly follow the information below.
Similar to categories on your posts in WordPress, you can add, delete, and edit your product categories here. There are added options on top of the normal category fields such as uploading an image for the category
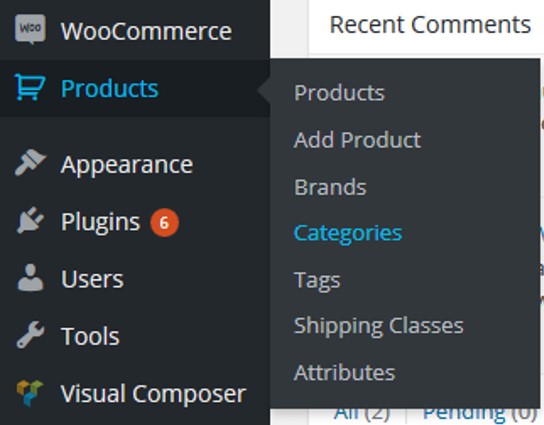
Click Products > Categories on the left panel.
Add a product category
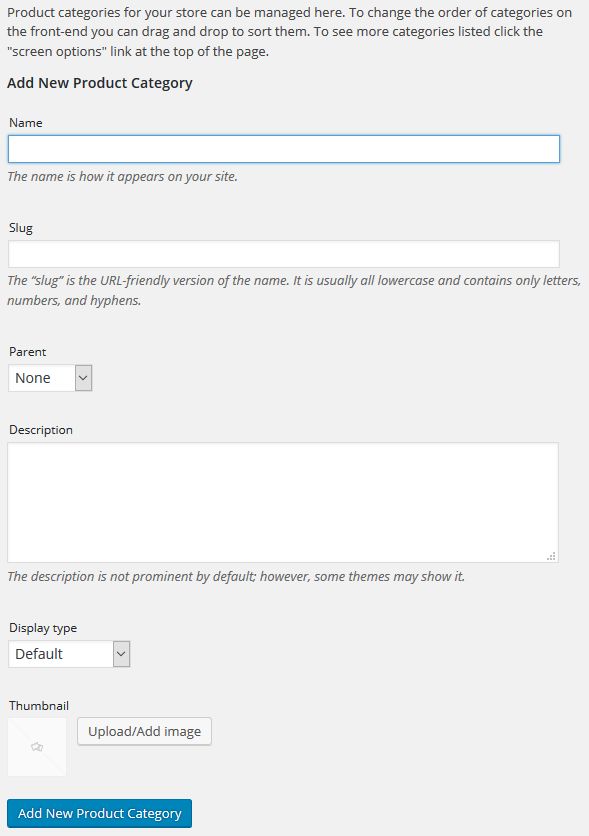
Once you have been directed to the Product Category page, there will be two features shown. The feature on the left allows you to add a new product category. Enter the required fields:
- Category name
- Slug
- Description of the category
For the Parent section, click on the drop down and select a parent category if any. For example, you are creating a category named Shirts. Shirt is usually classified under Clothing. Hence, the parent you are going to select is Clothing. This is similar to creating a subcategory under a main category. If , just select none.
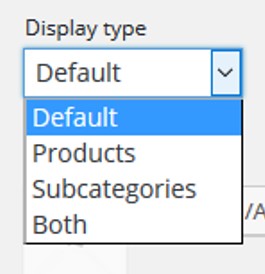
The display type are options you select to display the categories.
- - Default - Display products at its default setting
- - Products - Display products only
- - Subcategories - Display subcategories only within the main category (click on the subcategories to view products stored inside)
- - Both - Display both products and subcategories in the category
Next, to add an image, under the Thumbnail section, click on the Upload/Add image. This image will be the category featured image shown in the category list.
After you have completed filling in the fields, click on Add New Product Category. Now, you have successfully add a new product category.
Viewing a category
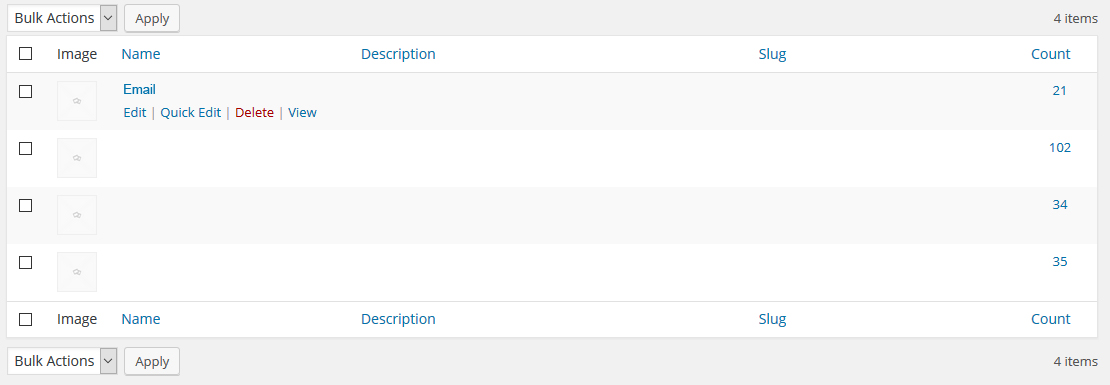
The feature on the right is a category list. The list consists of the following information:
- - Category Image
- - Category name
- - Description
- - Slug
- - Count - Number of products in the category
To view a category, simply hover on the category name, click on View. Now, you will be redirected to your online site which display products from the chosen category. Note: the online site you view will be similar to what your visitors see.
Editing a category
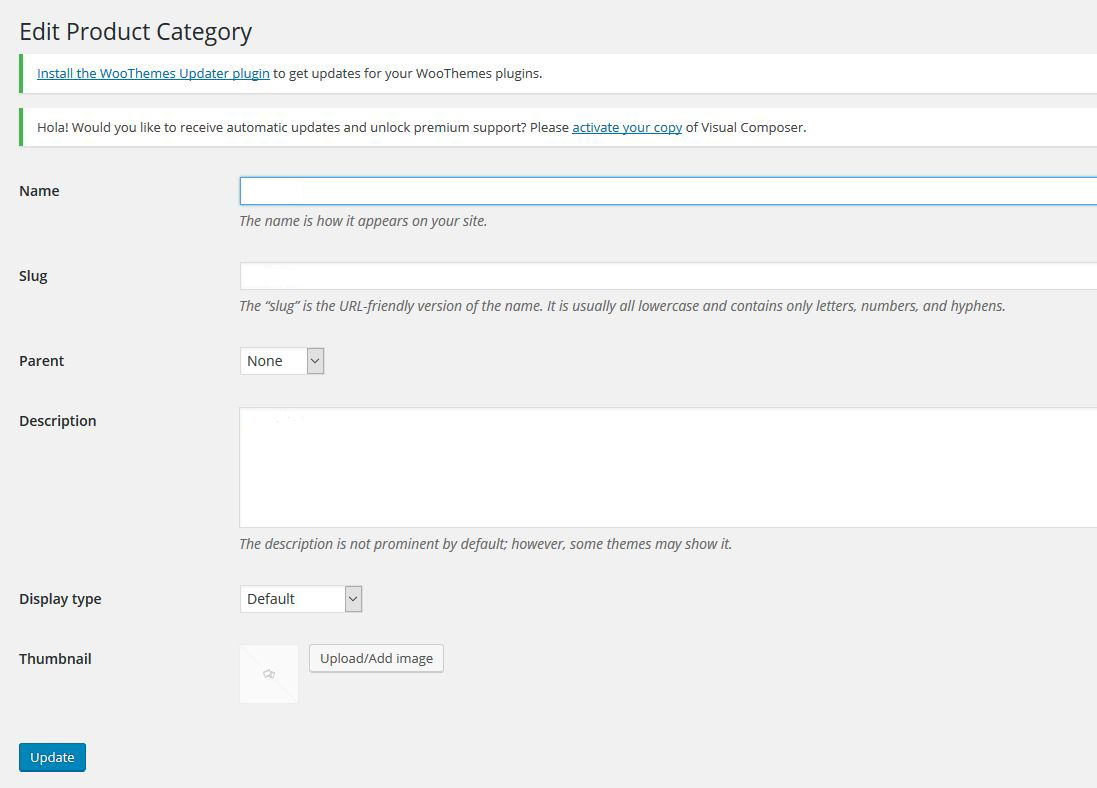
To edit a category, there are two ways to enter the editing screen. One way is to click on the category name. The other method is to hover on the category name and click on Edit. Both methods will lead you to the Edit Product Category page. At this page, you can edit the same fields just like how you add them. Once done, click on Update.
Delete a category
To delete a category, simply hover over the category name you wish to delete and click Delete.
How do I determine the products in a category?
Step 1: Click Products > Categories on the left panel.
Step 2: At the category list, there is a count column. The numbers shown in the column indicates the amount of products categorized under the category. To view the products inside the category, click on the number count.

Step 3: You will be directed to the Products Management page. Notice that the product list only has the amount of products you have just clicked on. This list will only show the products in the category you have chosen earlier. To view other category, click the category drop down menu and select the category you wish to view.

Note: The details shown above were used for demonstration purposes.
If you need assistance or have any further enquiries, feel free to contact our support team.
You may want to view an article on How to add product using WooCommerce? (URL)


