Is your page a little too plain or dull? Do you want to beautify it by adding images ? This article will assist you to add images for your pages. Kindly follow the steps below.
Step 1: Open up the article you wish to add the images in.
Step 2: Pinpoint and decide where you would like your image to be inserted.
Step 3: Click on the Add Media button above the post editor toolbar. You will see a new window entitled Insert Media.

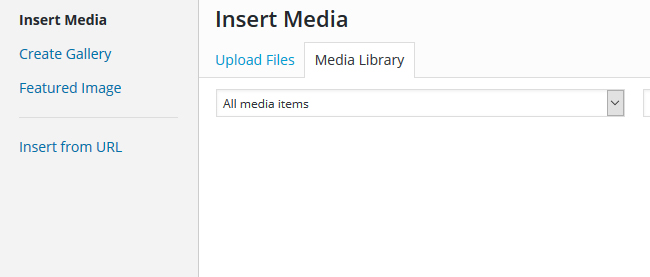
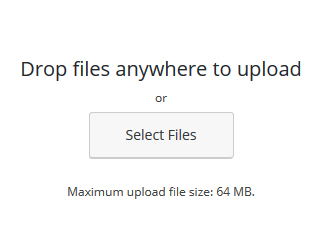
Step 4: Your Wordpress site stores all your images in a media library. In this window, you can select to either to use an existing file from the media library or upload a new file. Click on Select files button to upload an image. Search for the image and click open.
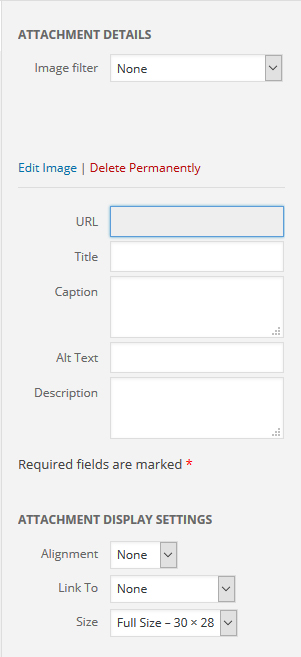
Step 5: Now, you will notice that your image has been uploaded in the media library. On the right panel, you can view the attachment details for this page. This panel allows you to edit the Image filer, Title, Caption, Alt text and Description. Furthermore, you can select the alignment (centre, left, or right) of the image, size of the image, the link location for the inserted image, and the URL of the image.
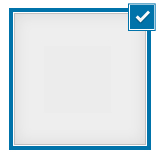
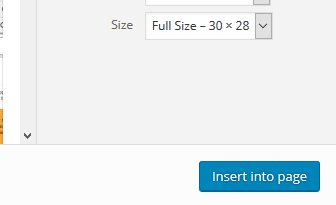
Step 6: Ensure the image is checked on its top corner and click Insert into page. Now, your image has been added to your page.
Delete image that I have added
Step 1: Click on the image that you decide to delete.
Step 2: A panel of icons will appear. To delete, simply click on ![]() and the selected image will be deleted. Note: the image is only deleted from your content editor, however, the image will still be stored in the media library.
and the selected image will be deleted. Note: the image is only deleted from your content editor, however, the image will still be stored in the media library.
Edit image that I have added
Step 1: Click on the image that you decide to edit.
Step 2: A panel of icons will appear. To edit, simply click on ![]() and you will see a Image details window. Here, you can edit the various image settings.
and you will see a Image details window. Here, you can edit the various image settings.
Step 3: Click on Update once you have completed your changes.
Now, you can preview the post and see that your image has been added.
If you need assistance or have any further enquiries, feel free to contact our support team.


