Core Auto-updates
The Enhance WordPress toolkit allows you to set an auto-update schedule for the core WordPress software. This feature ensures that your WordPress site stays up-to-date with minimal manual intervention.
By default, the core WordPress update schedule is set to update only minor versions.
Steps to Change the Auto-update Schedule
- Open Websites in the left sidebar.
- Find the website where you want to change the auto-update schedule and click Manage.
- In the website dashboard, select Apps.

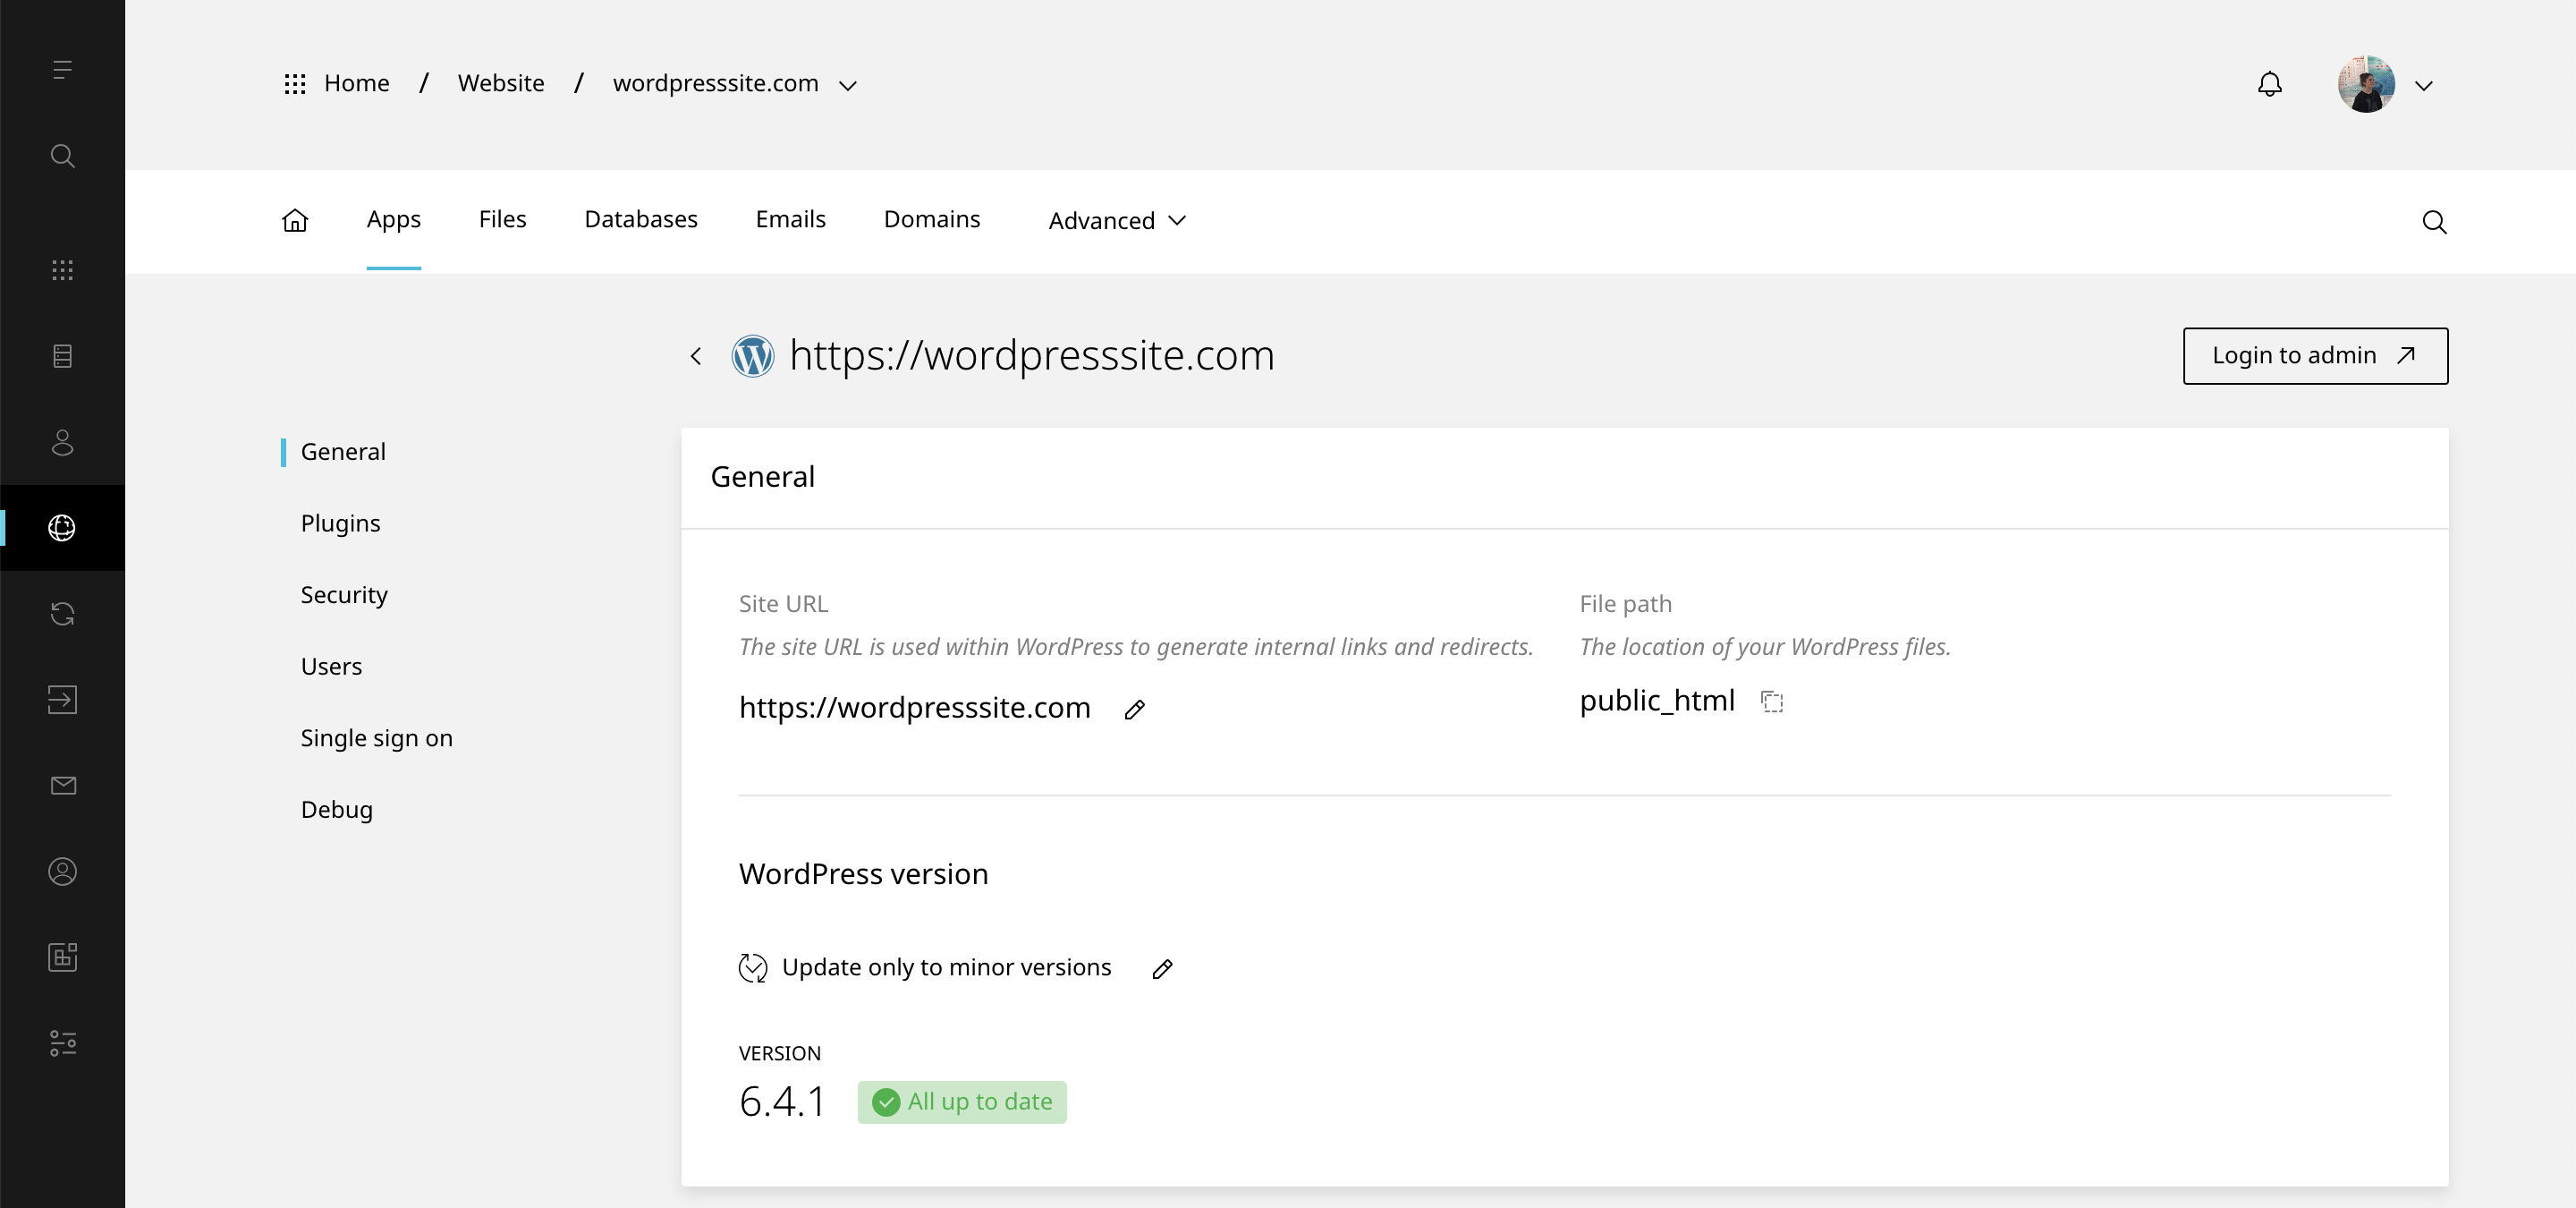
- Click Manage on the WordPress application.

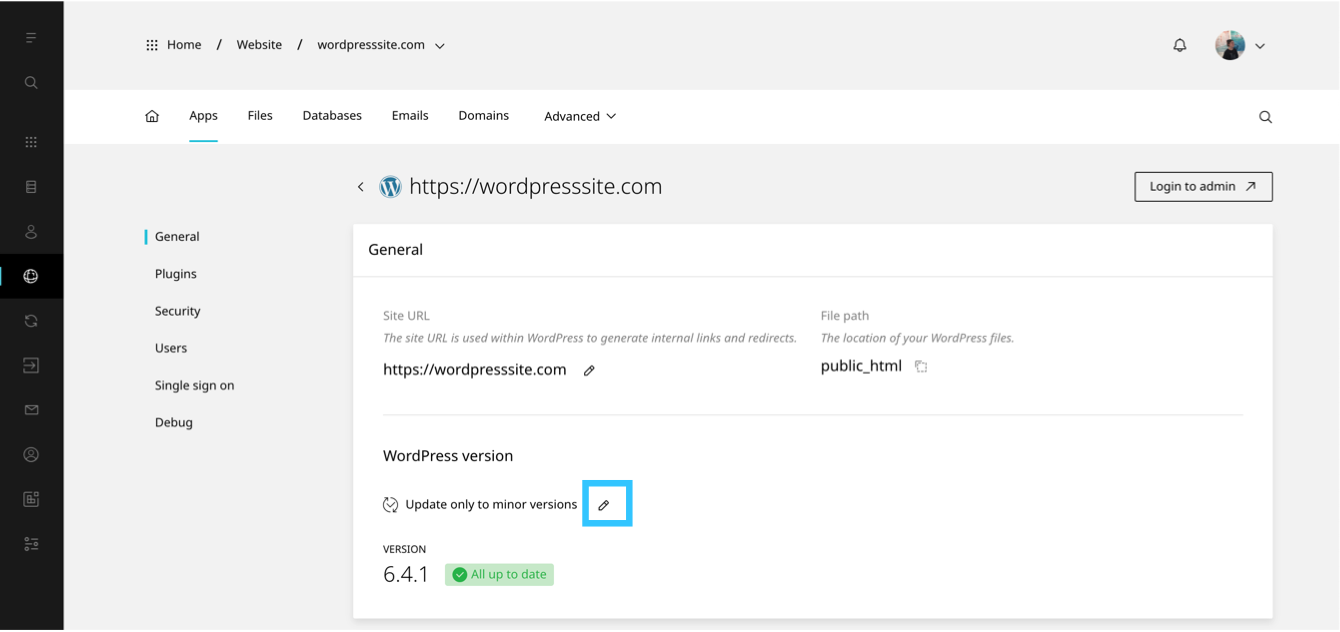
- Scroll to General settings.

- Click the pencil icon to edit.

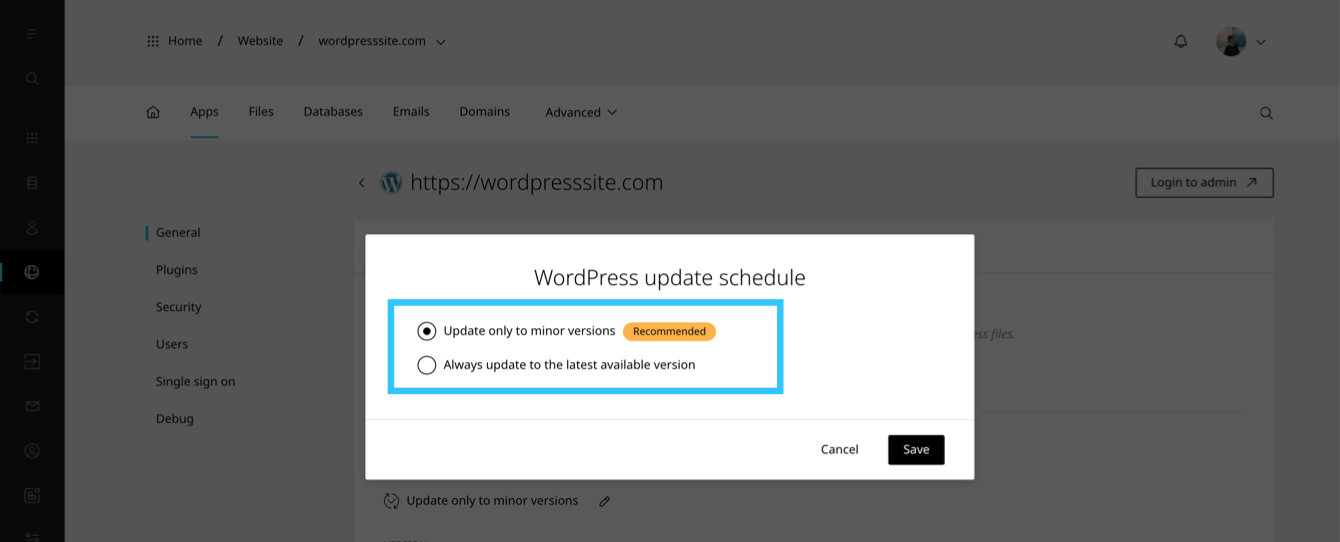
- In the modal, select your preferred update schedule.

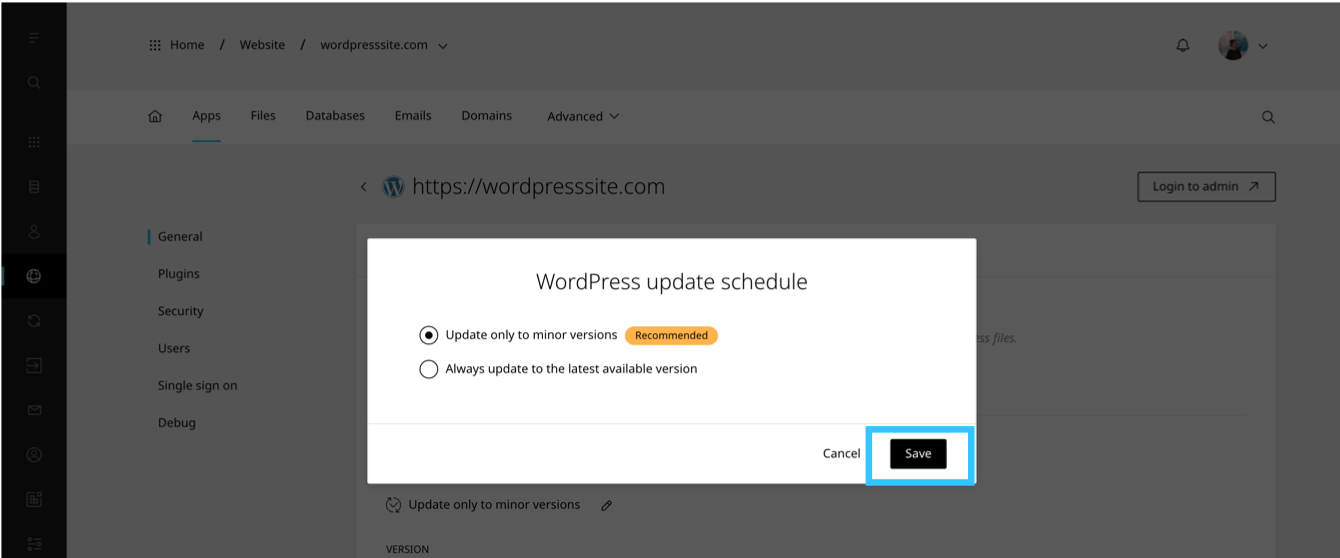
- Click Save to apply the changes.

This will update the WordPress core to follow the new auto-update schedule.


