How to Update WordPress Plugin Version
Keeping your WordPress plugins updated ensures security, compatibility, and optimal functionality. Below are three methods to update your WordPress plugin, along with necessary preparations to perform beforehand.
Preparations Before Updating
- Secure a backup of your WordPress website files.
- Secure a backup of your WordPress database SQL file.
- Review the details of the plugin’s new version and ensure compatibility with your current WordPress version.
- Perform updates during low-traffic hours, preferably overnight.
Methods to Update WordPress Plugins
1. Using the "Update Now" Link
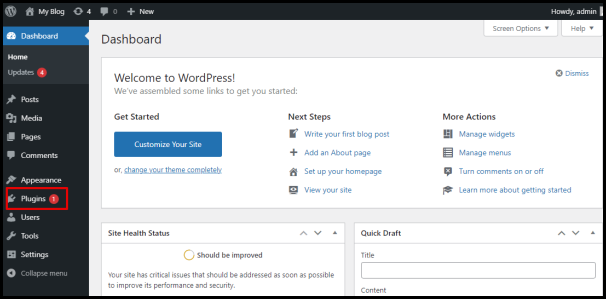
- Log in to your WordPress dashboard
. - Navigate to Plugins from the menu on the left.

- Click Update Available to filter plugins needing updates.
- Review the new version details by clicking the corresponding link.
- Click the Update Now link to update the plugin.
- A confirmation message will appear, indicating the successful update.
2. Upload via WordPress Dashboard
- Download the updated plugin file from WordPress.org or your plugin provider.
- Log in to your WordPress dashboard
. - Navigate to Plugins > Add New.
- Click Upload Plugin and then Choose File to locate the updated plugin on your device.

- Select the file and click Open, then Install Now.
- When prompted, click Replace Current with Uploaded to overwrite the old version.
- Click Activate Plugin to enable the updated version.
3. Manual Update
Use this method when the WordPress dashboard is inaccessible.
- Download the plugin from WordPress.org.
- Manually upload the plugin file to your website via FTP or your hosting control panel.
- The uploaded plugin will overwrite the older version automatically.
- Log in to your WordPress dashboard, navigate to Installed Plugins, and confirm the updated version.


