There are several ways to access the control panel:
-
Using a Domain Name:
- https://www.yourdomain.com:2222
- https://www.yourdomain.com/evo
Access the control panel by appending:2222or/evoto your domain or subdomain.
-
Using an IP Address:
- https://192.168.0.1:2222
- https://192.168.0.1/evo
This is useful if your domain transfer has not yet propagated
Step 1: Log In
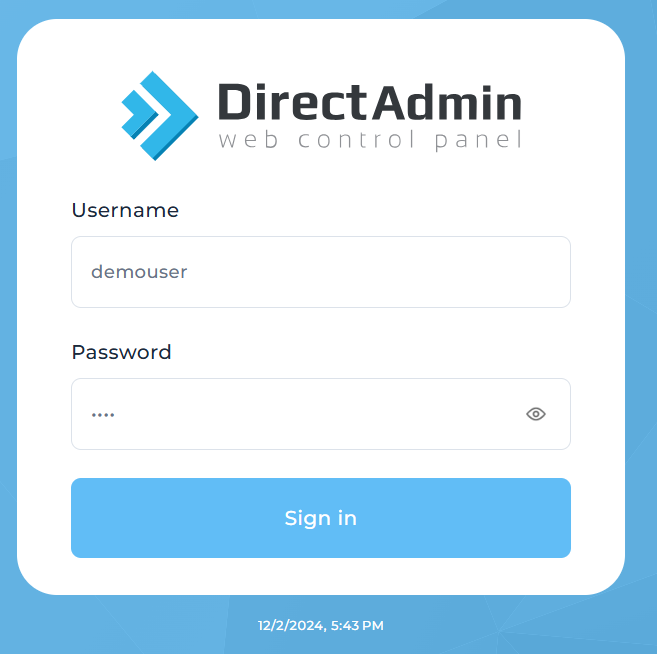
A login window will appear. Enter your username and password to sign in to the control panel.
After you have logged in. This is what you should see.
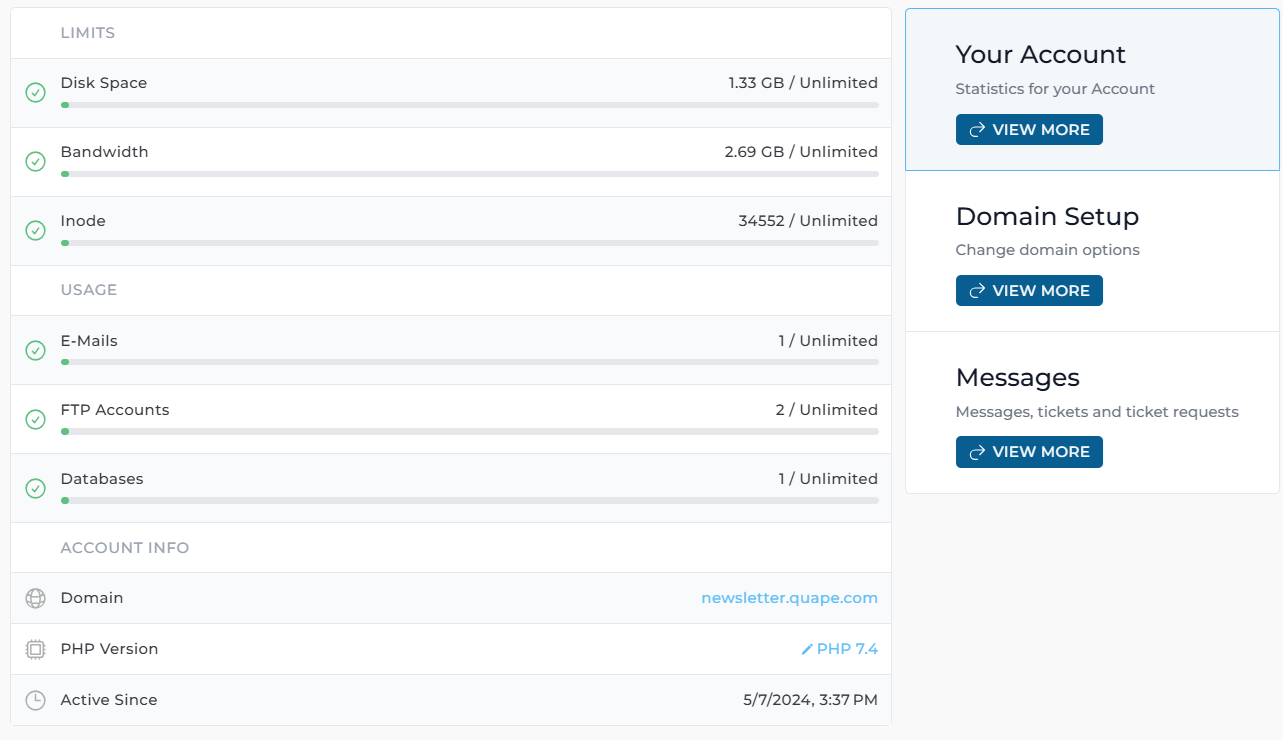
Step 2: Verify or Add Your Contact Email
Once you’re logged in, follow these steps to verify and configure your contact email address:
1.Navigate to Your Account:
-
At the top-right of the dashboard, click the "Your Account" tab.
-
This will display account statistics and include a blue "View More" button.
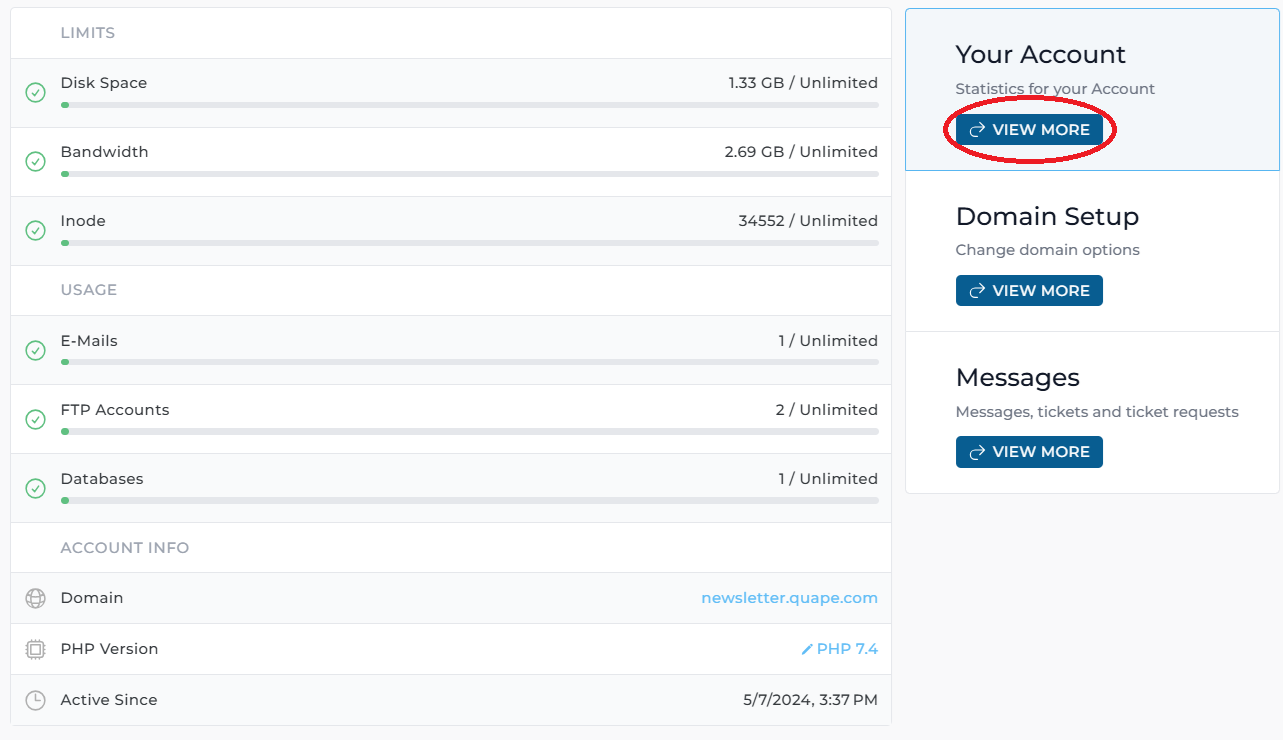
2. Check Contact Email in Account Configuration Settings:
- After clicking "View More", locate the "Account Configuration Settings" section.
- Check the Contact Email field.
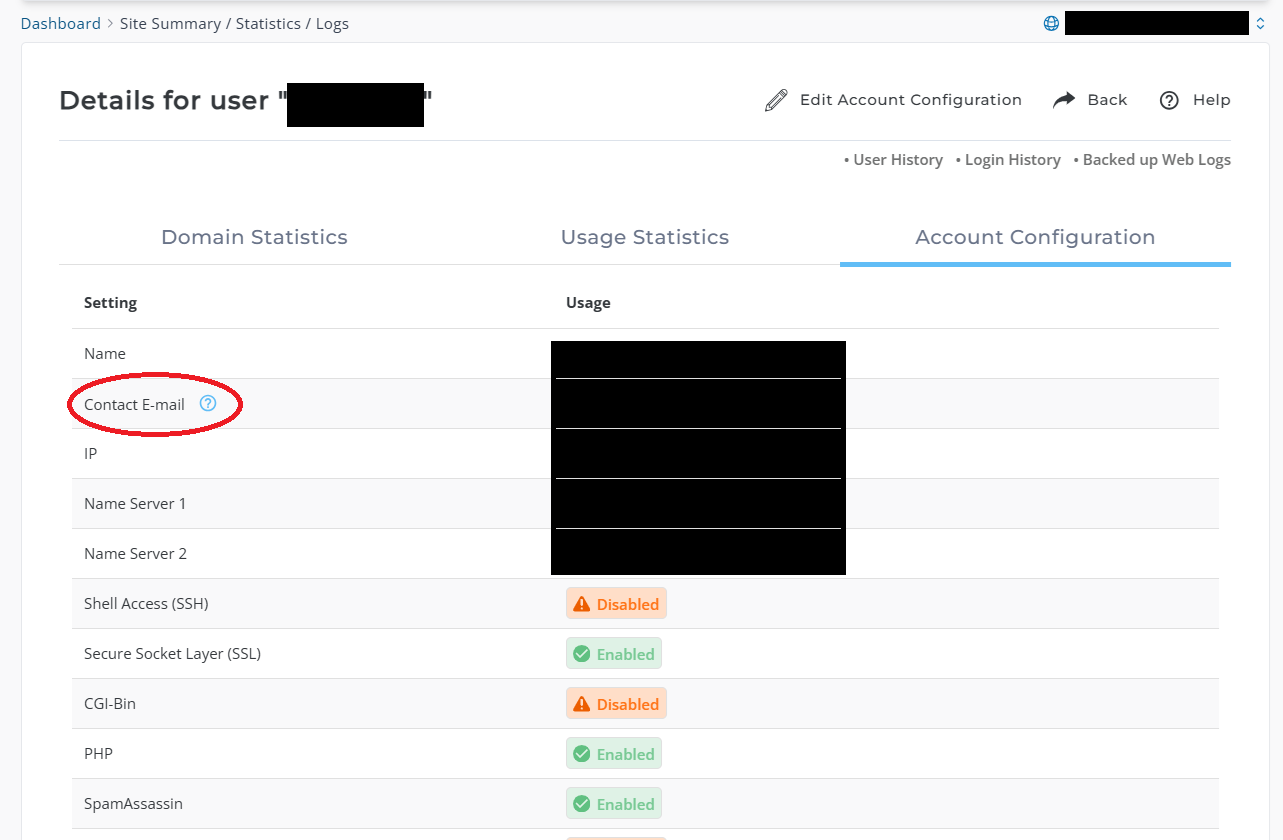
3. Add or Update Contact Email:
- After clicking "View More", locate the "Account Configuration Settings" section.
- Check the Contact Email field.
Important: A valid email address is essential for receiving account notifications, such as bandwidth limit warnings and system messages.
Step 3: Create an Email Account (If Missing)
If no email account is set up, follow these steps to create one:
1. Go to Email Accounts:
-
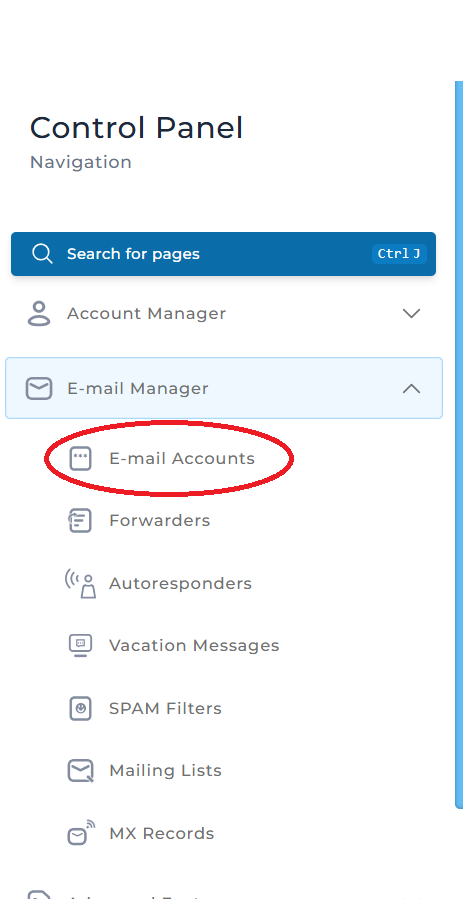
From the left side tab, navigate to Email Manager > Email Accounts
-
Similarly, you can also access Email Manager from the main dashboard.
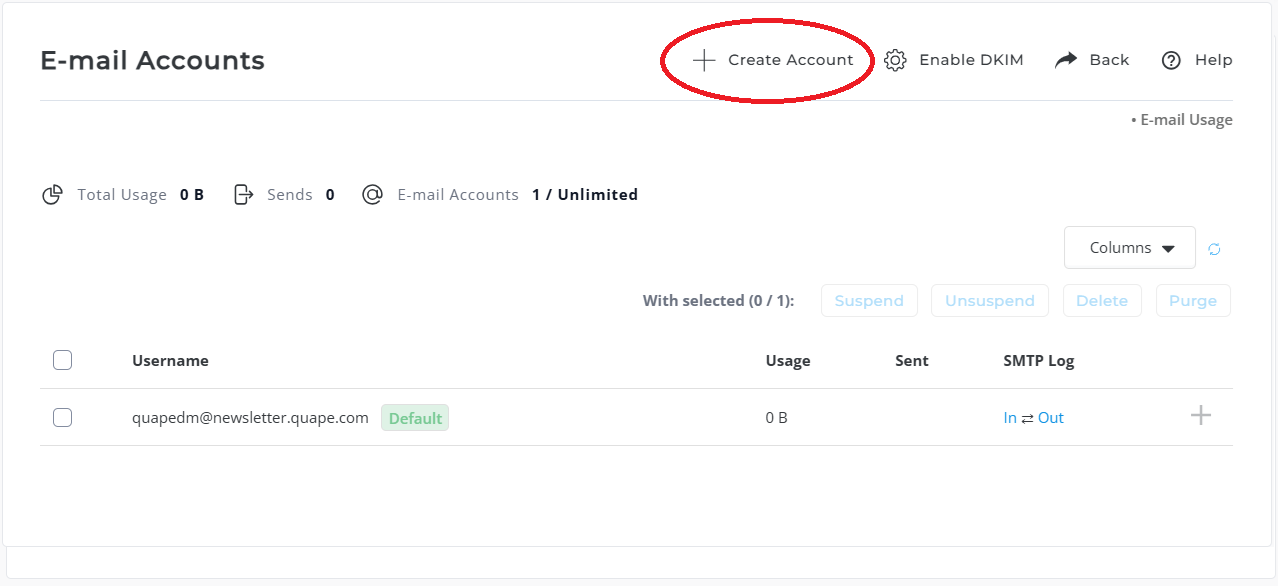
- Click "Create Account".
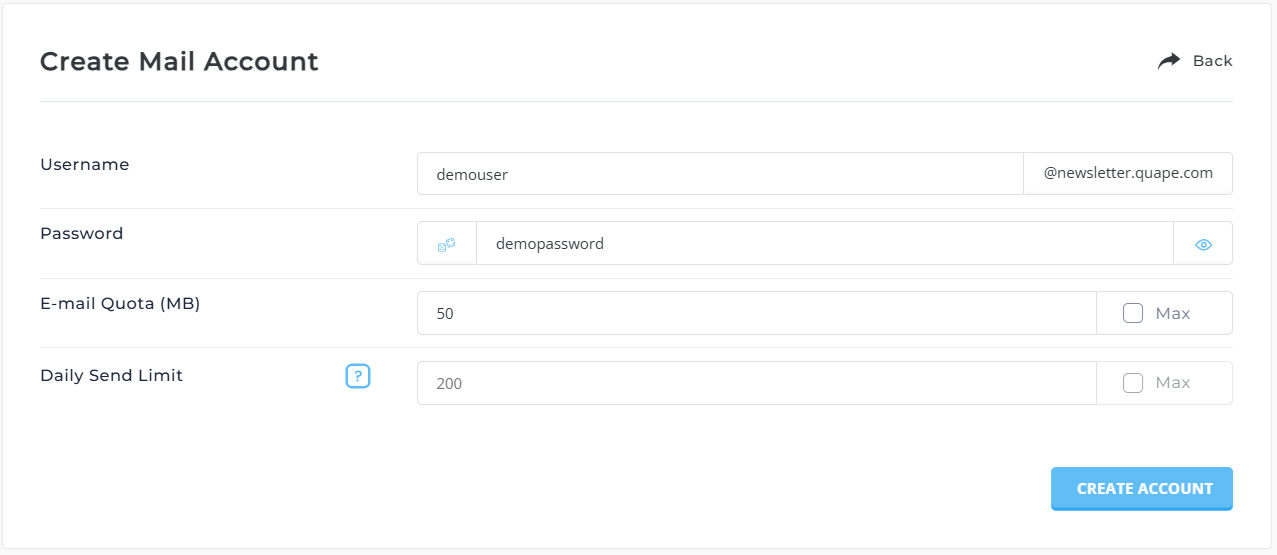
2. Fill Out the Email Account Form:
- Enter the desired email prefix (e.g.,
adminorsupport). - Set a strong password or use the auto-generate feature.
- Specify the mailbox quota (e.g., 1GB or unlimited).
3. Save the Email Account:
-
Click "Create" to finalize the email account setup.
Once created, the email account will be listed on the Email Accounts page.
Important Notes
- A valid Contact Email is critical for receiving account notifications, such as bandwidth limit warnings and important system messages.
- Always verify that the email address is accurate and regularly monitored.


